When life gets stressful, a good meal can often bring about some peace and relief. While elaborate meals can be a stress-reliever, often a low-effort meal is often the best choice for a hard day. With so many choices out there, here are a few that will give you the most peace on a stressful day.
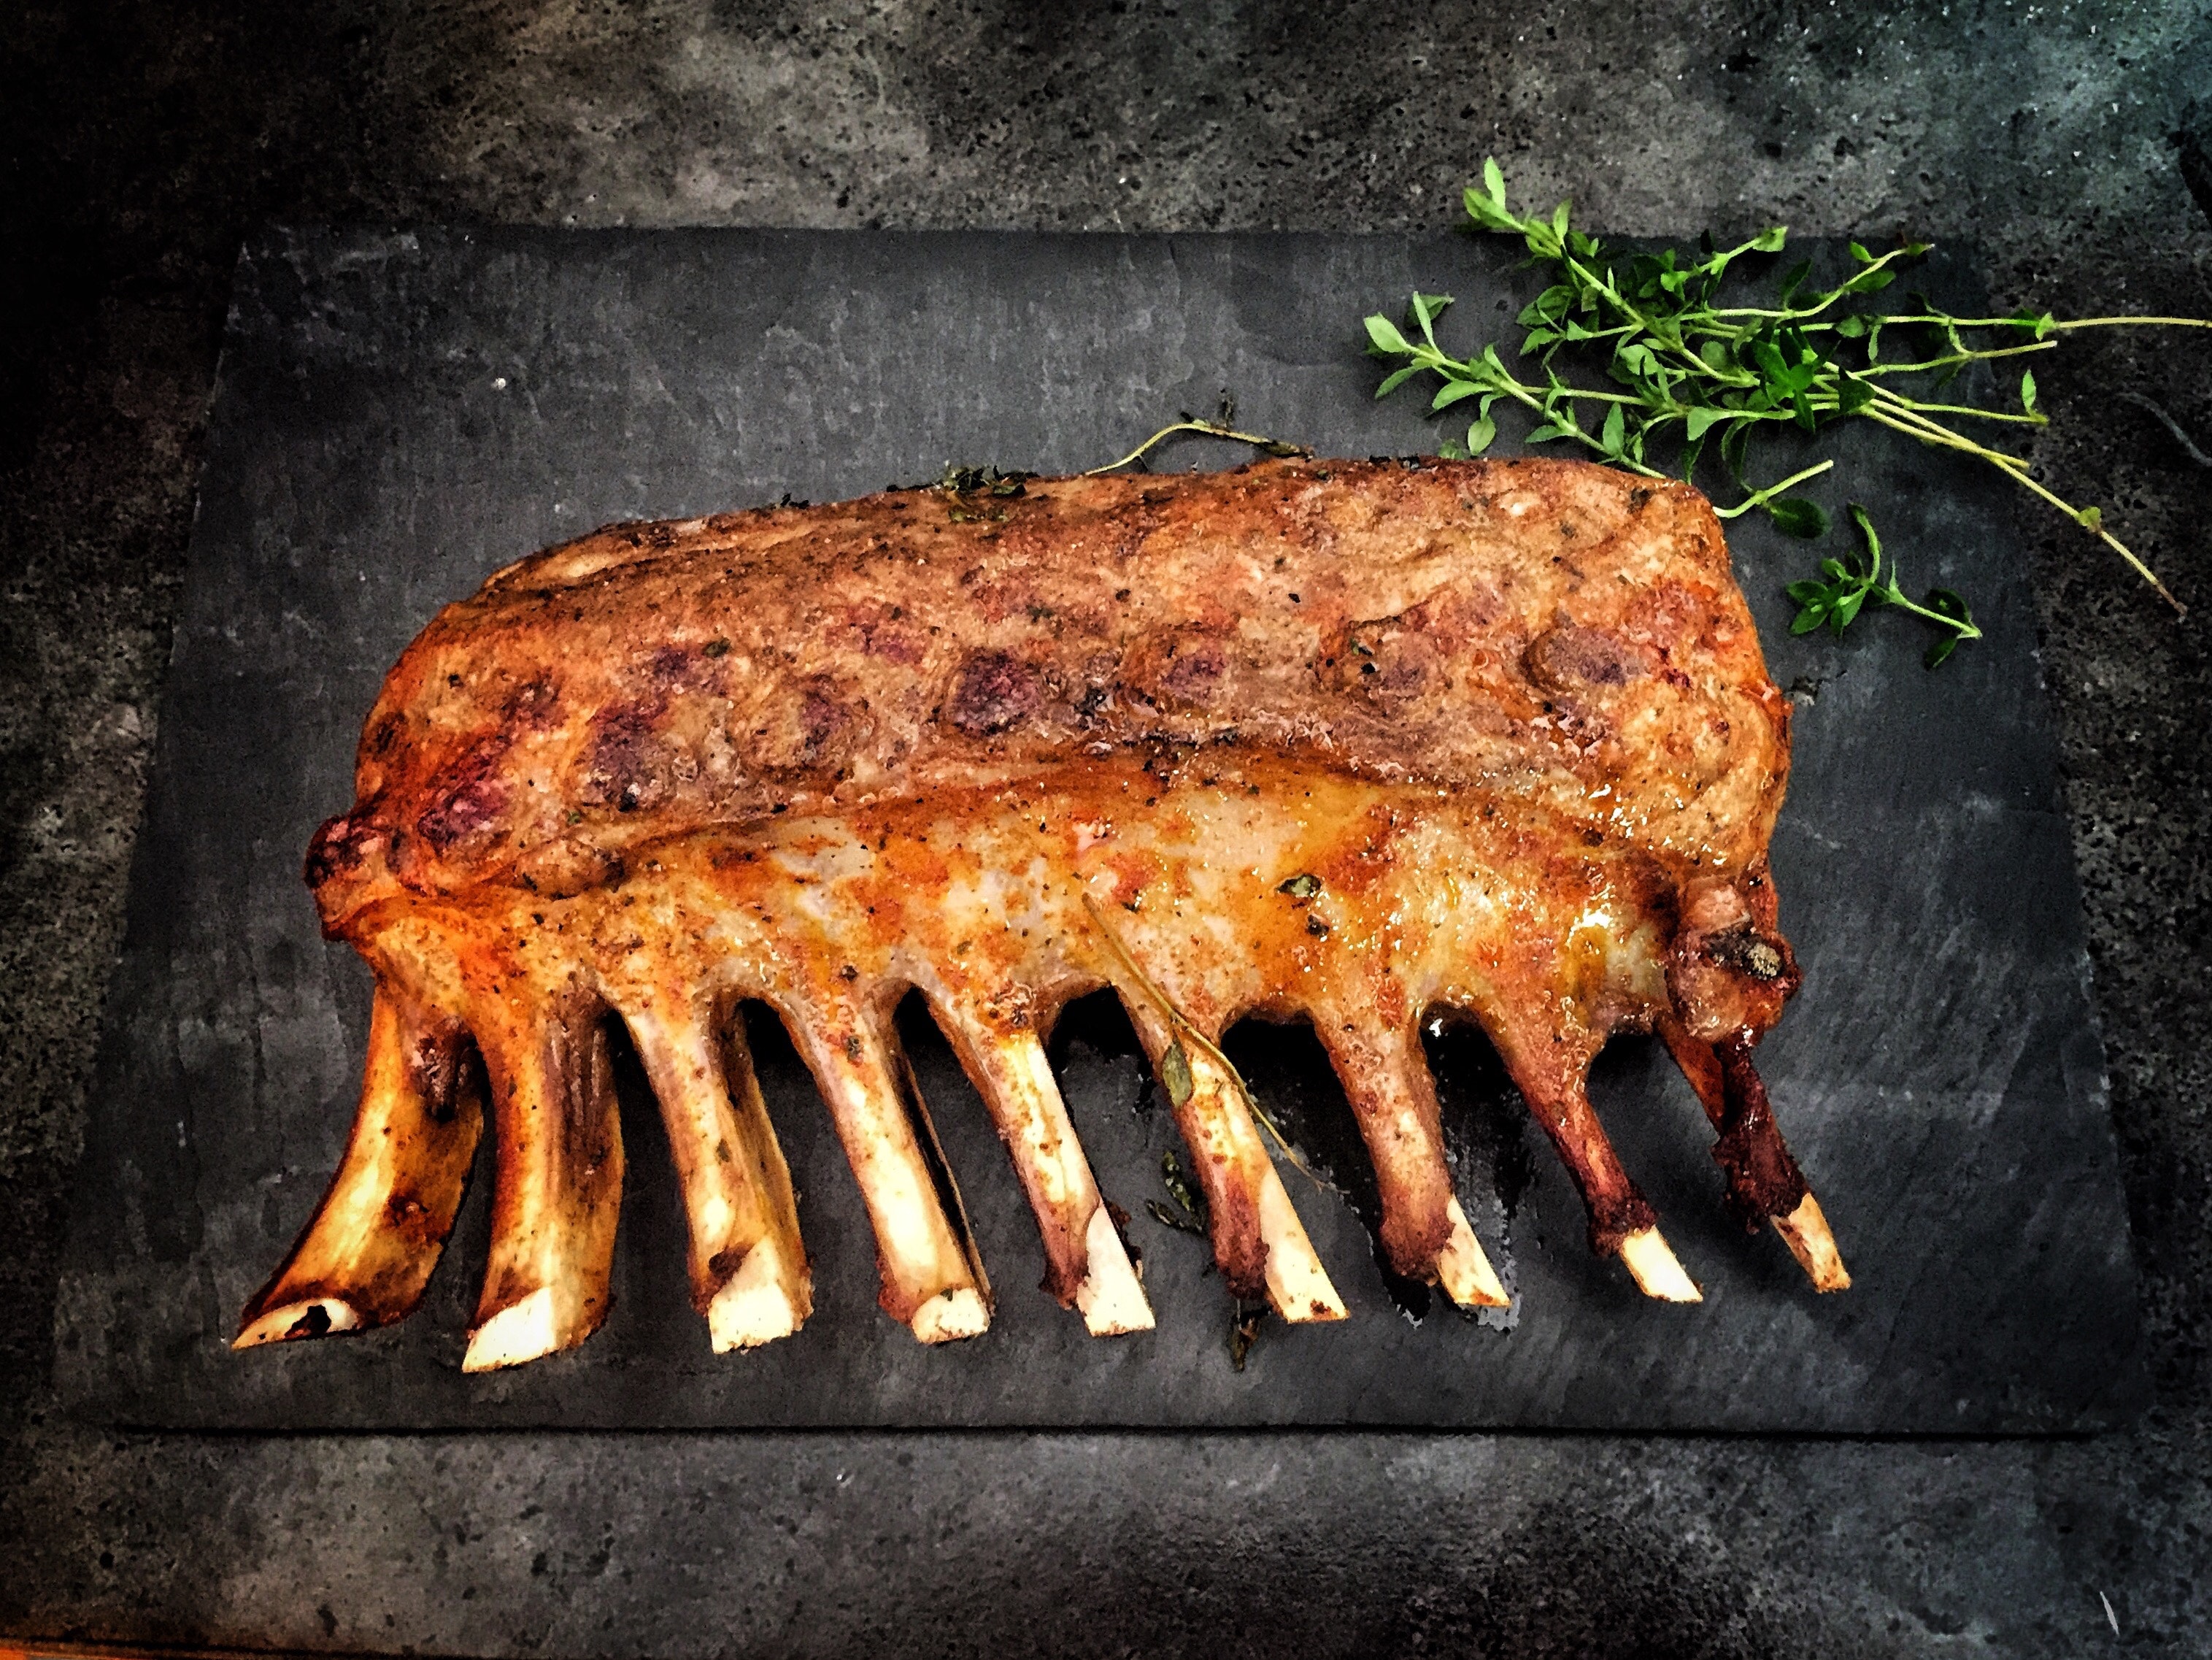
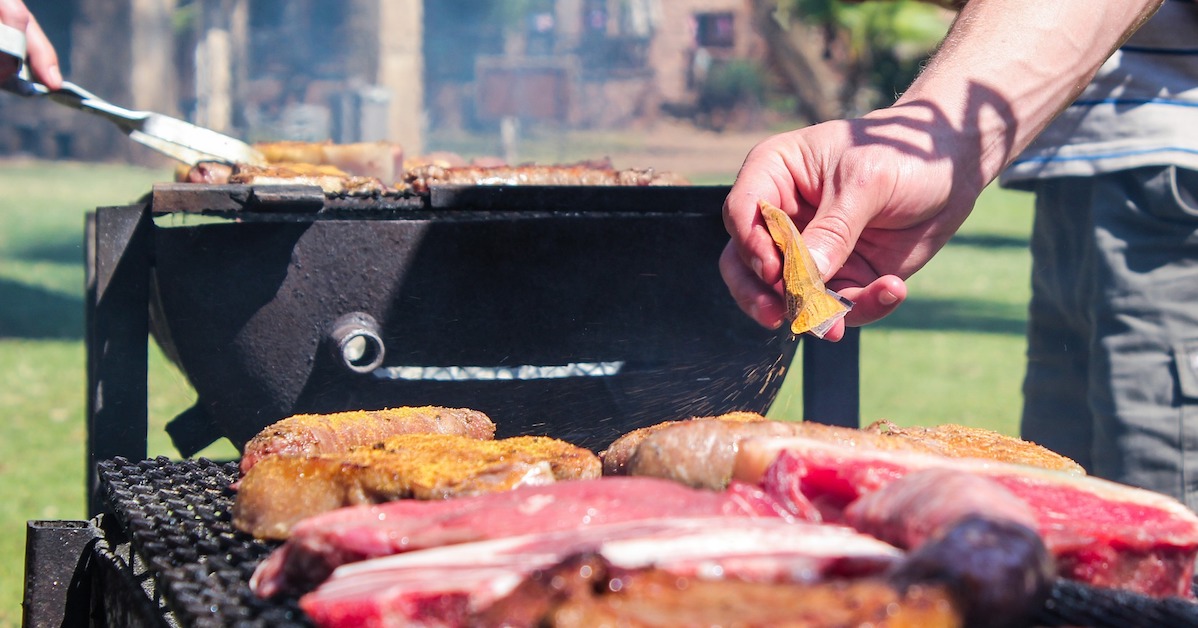
1. Steak
There is a whole load of steak cuts out there, from tri-tip to filet mignon. All cuts of steak are delicious, but each cut is suitable for a different purpose. Some cuts are better suited to be the star of the show, while others make a great addition to a dish.
The beauty of steak is that it can be made into any sort of dish you’d like. You can pair it with potatoes if you’re looking for a hearty meal, or with a salad for a lighter course. No matter what you choose to pair it with, the end result is sure to be a meal that satisfies.
Not only does it taste great, but it’s also a joy to cook as well! Whether you’re a grill master or more of a chef, cooking steak doesn’t have to be stressful. Just remember to season lightly and use a meat thermometer, the rest is easy. Looking for inspiration? Check out our Reverse Seared Steak post.

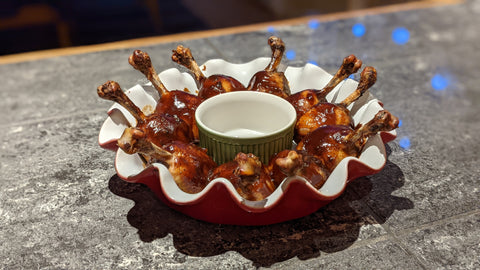
2. Wings
This Superbowl party favorite can and should be enjoyed all year long. Easy to eat and even easier to make, wings can instantly remind us of fun gatherings. Wings can be made in the oven, a smoker, or even on the grill. Ceramic construction grills are a great choice for making wings, as their versatility makes them perfect for getting the perfect temperature.
This gives you plenty of options for how you’re going to make dinner.
You can choose to flavor your wings in a barbeque style, teriyaki, or even a simple dry rub. With so many recipes available, you can find one to please any crowd on any occasion. It’s also difficult to make wings dry, taking the stress out of cooking chicken.

3. Burgers
Burgers are another meal that can be as versatile as your imagination. They remind us of family meals and backyard barbeques, all the times we find the most joy in cooking. Whether you prefer grilling your burgers or frying them in a skillet, they are sure to turn out delicious. There is an infinite number of ways to customize them with toppings, seasonings, and sides.
Consider pairing a classic burger with fries for a meal that will remind you of childhood summer days. You could also whip up a cilantro-lime chicken burger that could be paired with rice or beans. The options are truly endless with burgers, a fact that makes them an easy-to-make family favorite.
The best burger is one that is simple enough to be stress-free, but delicious enough to satisfy the craving. This kid-friendly option is perfect for families looking for a meal that everyone will enjoy.

4. Foil Packs
If you’re a seafood lover, foil packs are sure to become your new best friend. You can use any catch you like, whether salmon, tilapia, or another fish. You can also throw in other seafood if you like, as crab, shrimp, and crawfish make excellent additions. These easy meals can be seasoned simply or made with more complex recipes.
The best part of foil packs is that you can pair them with virtually anything. Most vegetables are good for foil packs, including carrots, broccoli, and brussel sprouts. You can also toss in sliced lemon or lime for a flavor boost.
Foil packs are a great option for nights when you’re looking for a healthy meal that can be made with little effort. It’s one of the easiest ways to get a protein-packed, nutritious meal that only needs to be tossed on the grill or in the oven.

5. Kebabs
The beauty of kebabs is that they can be made of anything you choose. They’re also incredibly easy to assemble, making them perfect for quick dinners. Despite being of Middle-Eastern origin, kebabs can be made with ingredients from all around the world.
All you need to do is prep the ingredients and attach them to the skewers. From there you can cook them either in the oven or on the grill. This is a low-effort meal that takes only a short time to cook from beginning to end. Parents will be happy to know that kebabs are kid-friendly, especially for those that like to eat with their hands!

Conclusion
These are some of the foods that can give you the most peace, both in cooking them and eating them. Doesn't feel limited to these, though, grilling is a great stress-reliever. Anything you can make on the grill is likely to give you some peace after a long day’s work.
Guest post by Buddy Murphy
Buddy enjoys meditation, healthy living, and hiking. He owns three websites, including https://watersofteners.reviews. Besides traveling and writing, teaching healthy habits is his biggest passion.
]]>


 Get the grill nice and hot, then use a spatula to gently place your burgers on the grates. Resist the urge to flip them too often—once or twice should be plenty. And remember, if you're using a gas grill, keep the lid closed as much as possible to maintain temperature and prevent flare-ups.


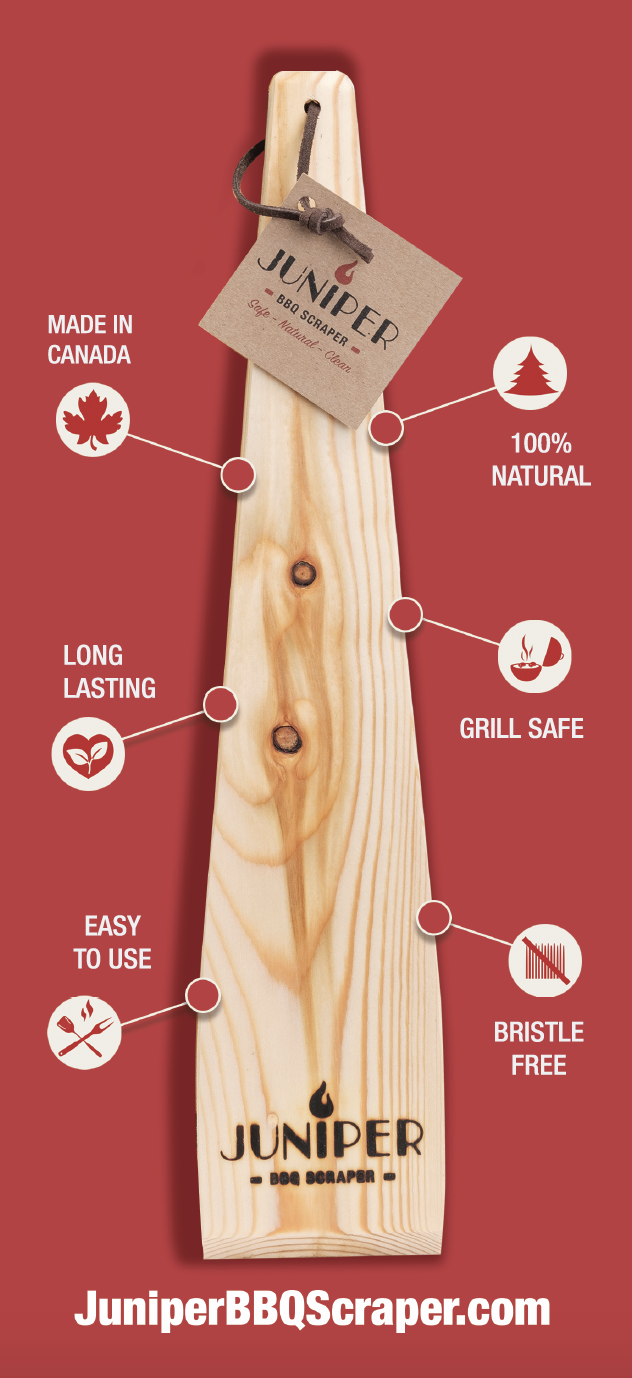


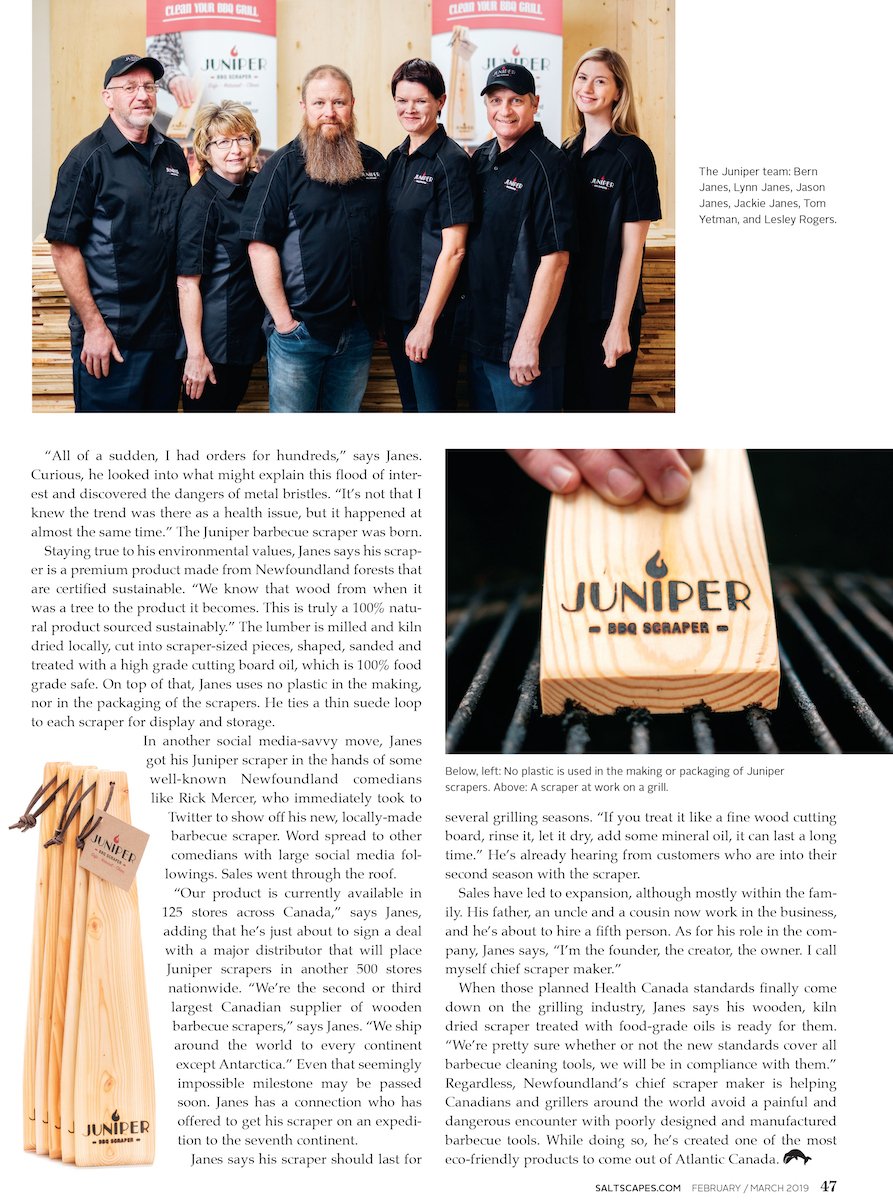
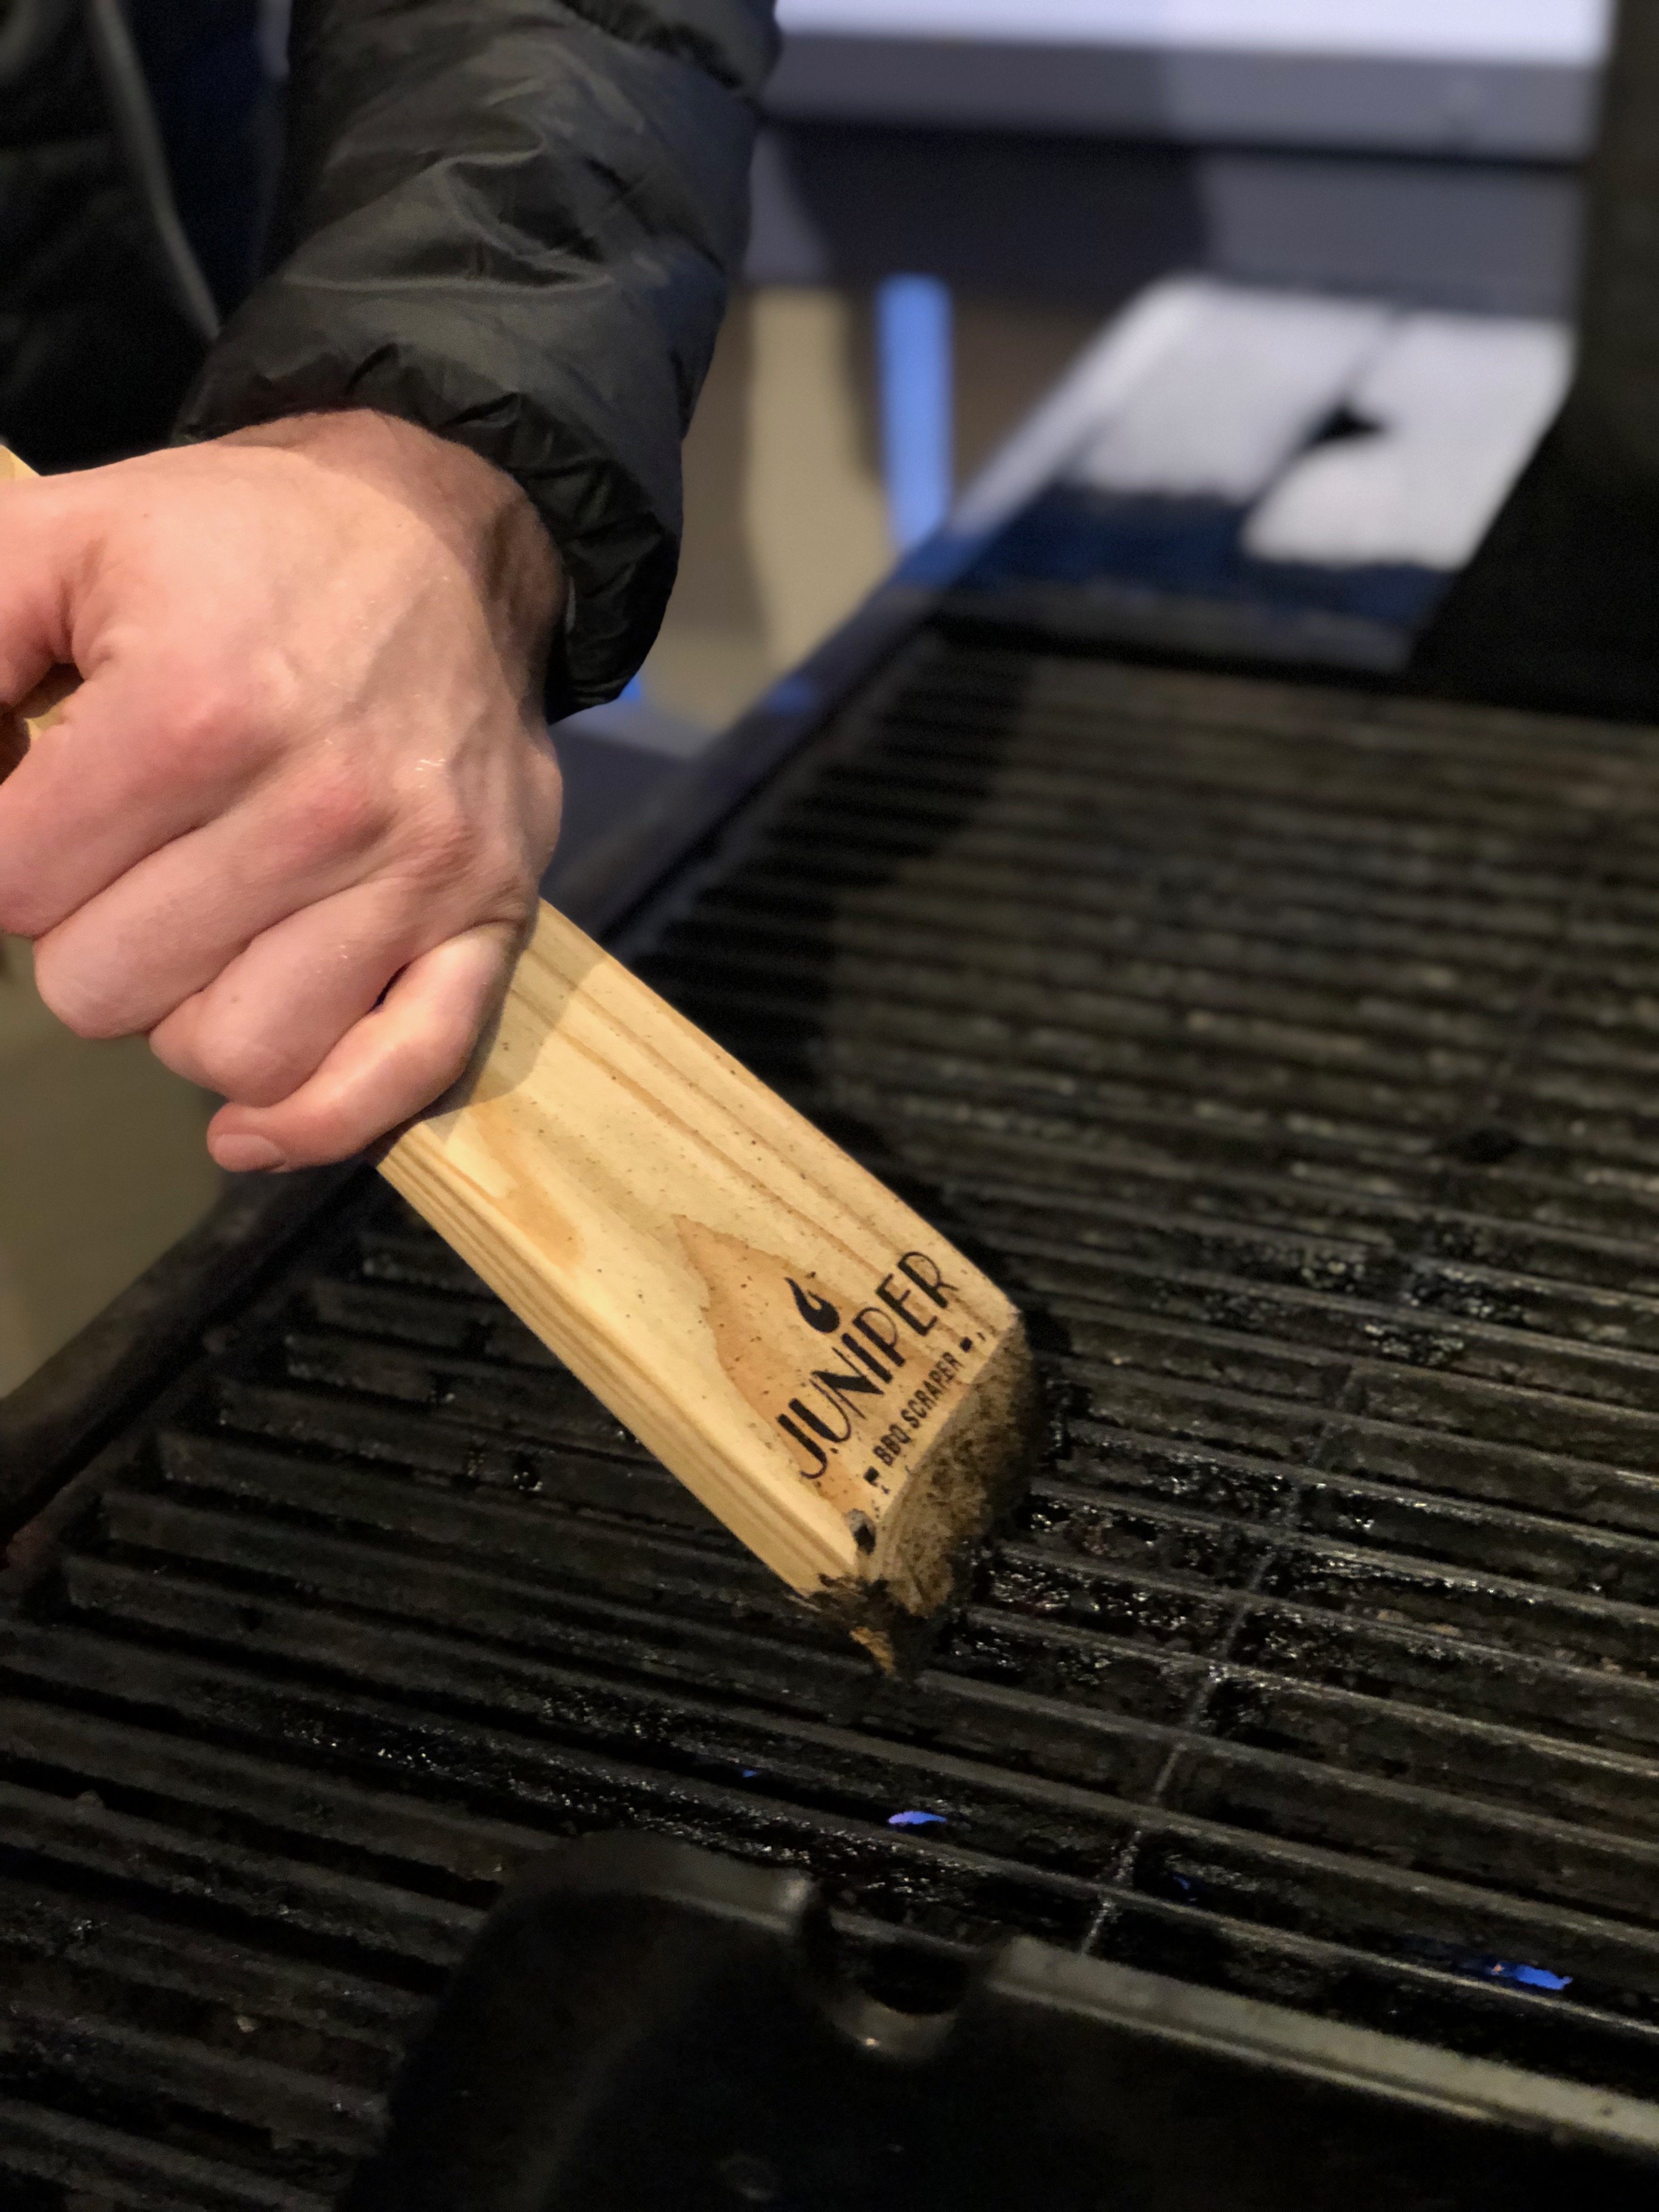 If you’re still using a bristle barbecue brush, do yourself a favour and throw it out! The bristles can come loose and be ingested, and if that happens it can


 In June 2014, I had the opportunity to attend 48 Hours in the Valley, the two-day mentoring event hosted by C100, the Canadian support network in Silicon Valley. While in San Francisco, I attended many fireside chats and several private events, such as Happy Hour with Don Mattrick, CEO of Zynga, and dinner at the home of Don Listwin, former executive VP of Cisco.


